Control Your Curves
Do you want to control the curve of your shots to attack tucked pins or escape from the trees? If so, you’re in luck, because in this lesson, I’m going to help you visualize your club path so that you can control your shot shapes on the course.
Before I go further, let me recommend my series on Ball Flight Laws as background knowledge. Once you understand why the ball curves, all of this makes a lot more sense.
This Lesson Is For You If:
You want to shape your shots
You need to take your shot making from the range to the course
The Lesson
If you know the basics of ball flight, you understand that hitting a certain shot is just a matter of creating a particular combination of club face and club path. The trick is being able to do this consistently on the course.
What I’ve found to be very helpful is visualizing the path along which you want to swing the club. Once you decide on the shot you want to hit, visualize the line that you want to start the ball on (blue line) and a line which represents the path of the club (purple line). For a cut shot (left to right for a RH player), I might visualize something like this image:
If I were going to hit a draw (right to left for a RH player), it might look like this:
The Drill
You may be saying, “Ok, visualization is great, but how do I know exactly the lines to visualize?” That’s where the drill comes into play.
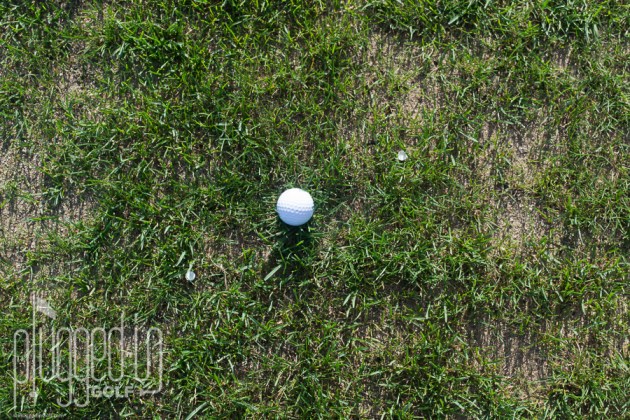
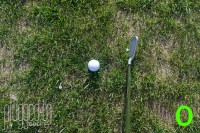
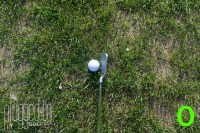
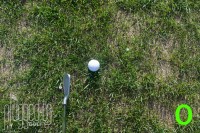
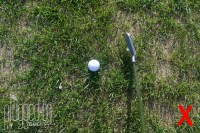
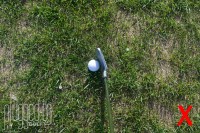
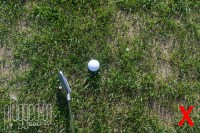
When you head to the range next time, bring a few extra tees. Decide on the type of shot you want to hit – we’ll assume your goal is to hit a cut. Set up three tees in a line that points to the left of your target, as shown below (we will assume that the camera is square to the start line).
Now, in slow motion, make a swing and trace the line of tees with your club. Keep in mind that you do NOT want the club face to be square to the path…unless you want to hit a straight pull to the left. Keep the club face pointed where you want the ball to start.
Once you have that feeling ingrained, go ahead and make a full swing. Now evaluate the result: did the ball start and curve where you wanted? Knowing your ball flight laws will help you diagnose what went wrong if you didn’t get your desired result.
If you can consistently create your desired shot shape with the tees helping you to visualize, try removing the tees. Pick out spots on the ground behind the ball and in front of it, envision your line, and hit the shot.
In doing this drill, you may find that you have to exaggerate one direction more than the other. For instance, if I set my tees slightly to the left, I’ll hit the ball straight, but if I set them the same amount to the right, I’ll hit a substantial draw. I need to set my tees significantly to the left and exaggerate the feel of swinging left to hit a cut. You may also find that your lines change with different clubs. You may be able to draw you 7I with a line that’s only slightly to the right, but your 3W may require a line much farther right. Experiment with different club paths to see what kind of shots you can create.
As always, please feel free to ask any questions about this lesson in the comments section below.
He founded Plugged In Golf in 2013 with the goal of helping all golfers play better and enjoy the game more.
Matt lives in the northwest suburbs of Chicago with his wife and two daughters.
- 2026 FootJoy Pro/SL Golf Shoe Review - February 13, 2026
- Callaway Quantum Triple Diamond Driver Review - February 10, 2026
- UST Mamiya LIN-Q PowerCore White Shaft Review - February 6, 2026


